How to Deploy a Next.js App on Vercel — Step by Step (with Git Commands)
By Kaushal Patel7 min read
Vercel is the quickest way to put a Next.js app on the internet: connect a GitHub repository once, and every git push becomes a live deployment — with HTTPS, preview links for every branch and one-click rollbacks. It’s exactly how this website, kaushalpatel.com, is deployed.
In this guide we’ll go from an empty folder to a live site on your own domain, step by step, with every Git command you need along the way.
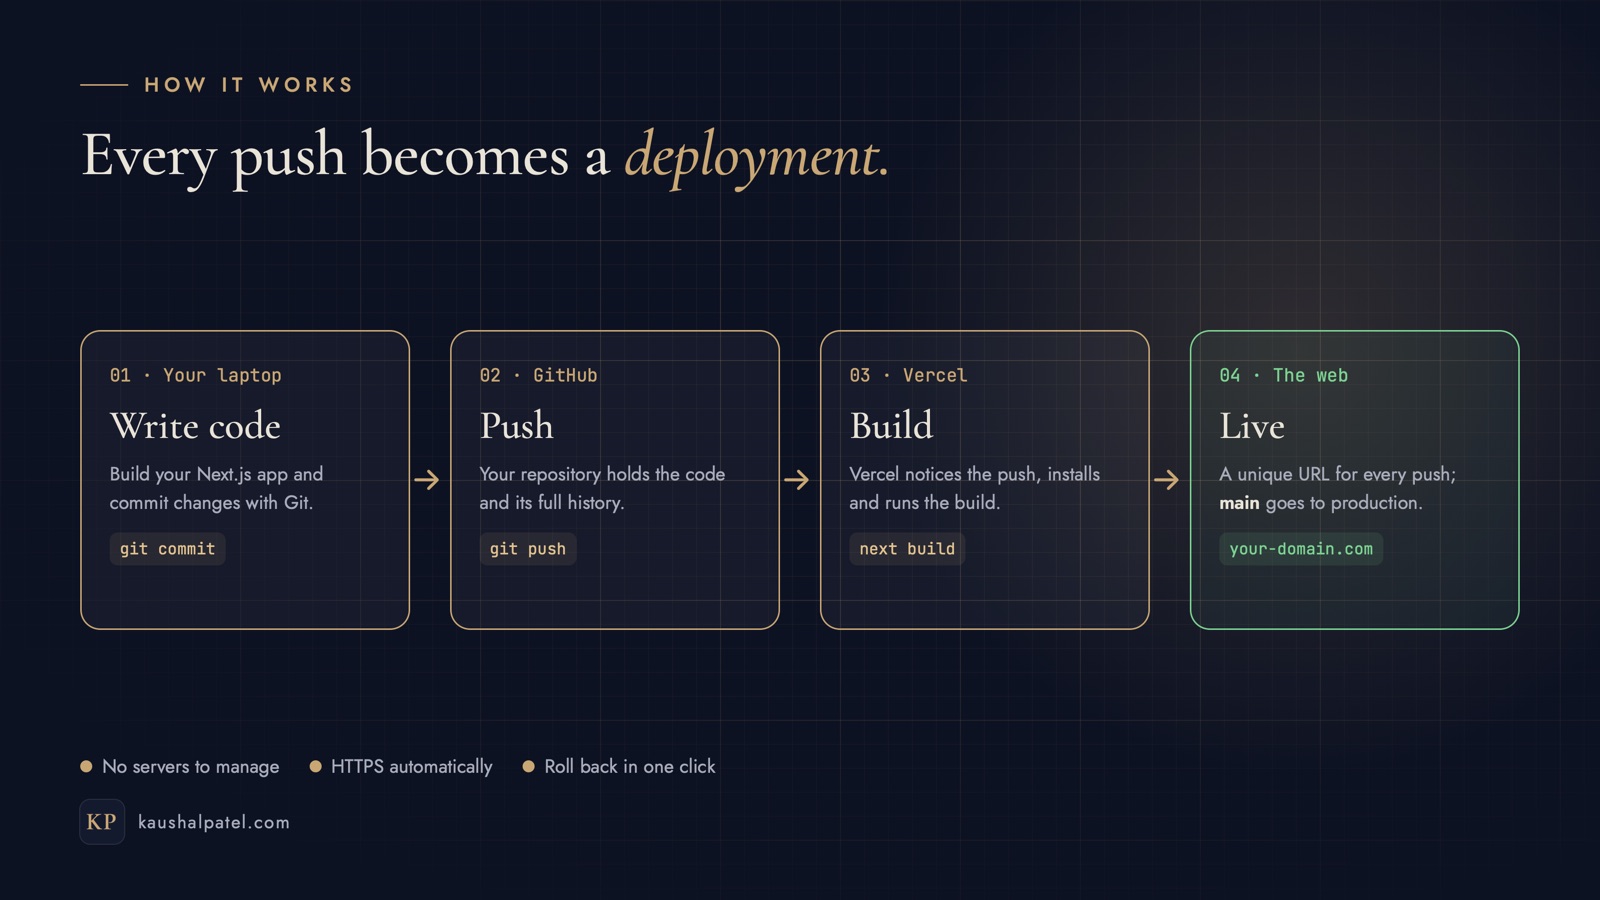
The whole workflow: commit on your laptop, push to GitHub, Vercel builds, and the site goes live.
What you’ll need
Node.js 20.9 or newer — the minimum for current Next.js versions.
Git, installed and set up on your computer.
A free GitHub account for your code.
A free Vercel account — the Hobby plan is enough to start, and you can sign up with your GitHub account.
A code editor such as VS Code.
Check your versions in a terminal:
node -v
git --version
If this is your first time using Git on this computer, tell it who you are (this name and email appear on your commits):
Create a new app called my-app and start the development server:
npx create-next-app@latest my-app --yes
cd my-app
npm run dev
The --yes flag skips the questions and uses the recommended setup: TypeScript, Tailwind CSS, ESLint, the App Router and Turbopack. Open http://localhost:3000 and you’ll see the starter page. Leave the server running while you edit; press Ctrl + C to stop it.
Step 2 — Save your work with Git
create-next-app usually sets up a Git repository and makes a first commit for you. Check:
git status
git log --oneline
If you see “not a git repository”, create one and make the first commit yourself:
git init
git add .
git commit -m "Initial commit"
The generated .gitignore already keeps node_modules, the .next build folder and your .env* secret files out of Git — keep it that way.
Step 3 — Create a GitHub repository and push
On GitHub, create a new repository named my-app. Leave “Add a README”, “.gitignore” and “license” unticked — your project already has these, and an extra commit on GitHub would make your first push fail.
Then connect your local project to it and push:
git remote add origin https://github.com/your-username/my-app.git
git branch -M main
git push -u origin main
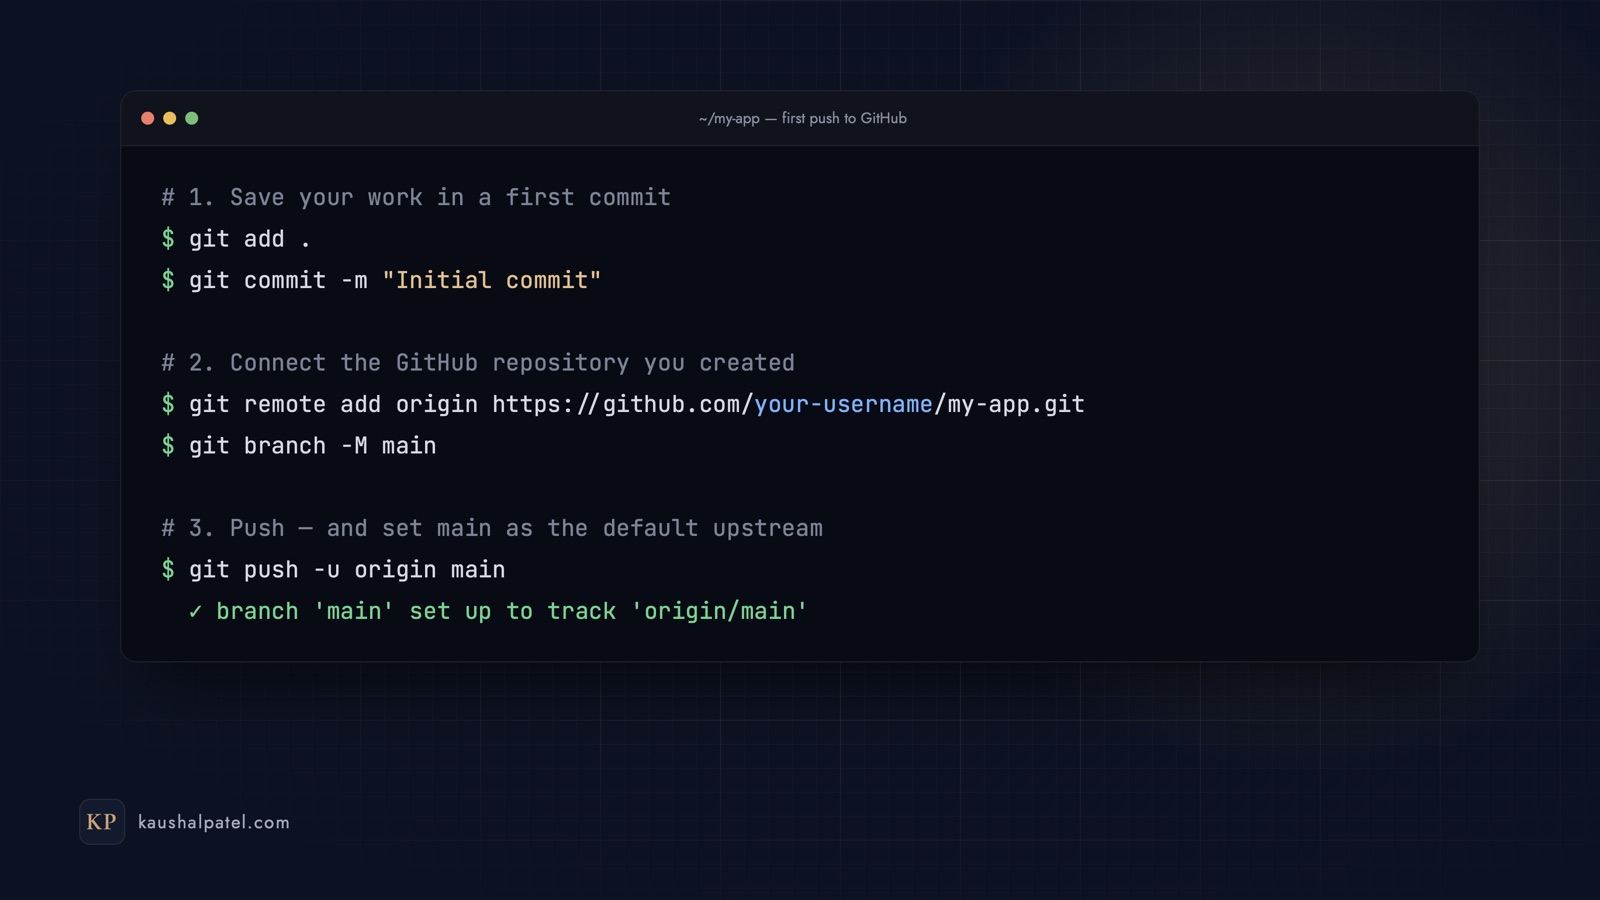
Your first push: commit, connect the GitHub remote, rename the branch to main, push.
The -u flag links your local main to GitHub’s, so from now on a plain git push is enough.
When asked, install the Vercel GitHub app and give it access to your my-app repository (you can allow just that one repository).
Find my-app in the list and click Import.
Vercel detects Next.js automatically and fills in the build settings — you don’t need to change anything for a standard app.
Click Deploy.
About a minute later your site is live on a .vercel.app address, something like my-app.vercel.app. That’s it — you’ve deployed a Next.js app.
Step 5 — Add environment variables
API keys and other secrets never go into Git. Locally, put them in a .env.local file in the project folder:
# .env.local — never commit this file
DATABASE_URL="your-secret-value"
NEXT_PUBLIC_SITE_NAME="My App"
On Vercel, open your project and go to Settings → Environment Variables. Add each variable and choose where it applies: Production, Preview, Development or all three.
Variables only take effect on the next deployment — after changing one, redeploy from the Deployments tab or push a new commit.
Only variables that start with NEXT_PUBLIC_ are available in the browser. Everything else stays on the server — which is where secrets belong.
Step 6 — Ship changes with branches and previews
Here’s where Vercel shines. Every branch you push gets its own preview deployment with its own URL, so you can check a change — or send it to a client — before it touches your live site.
# start a new branch for your change
git switch -c feature/new-hero

# …edit your files, then commit and push the branch
git add .
git commit -m "Redesign the hero section"
git push -u origin feature/new-hero
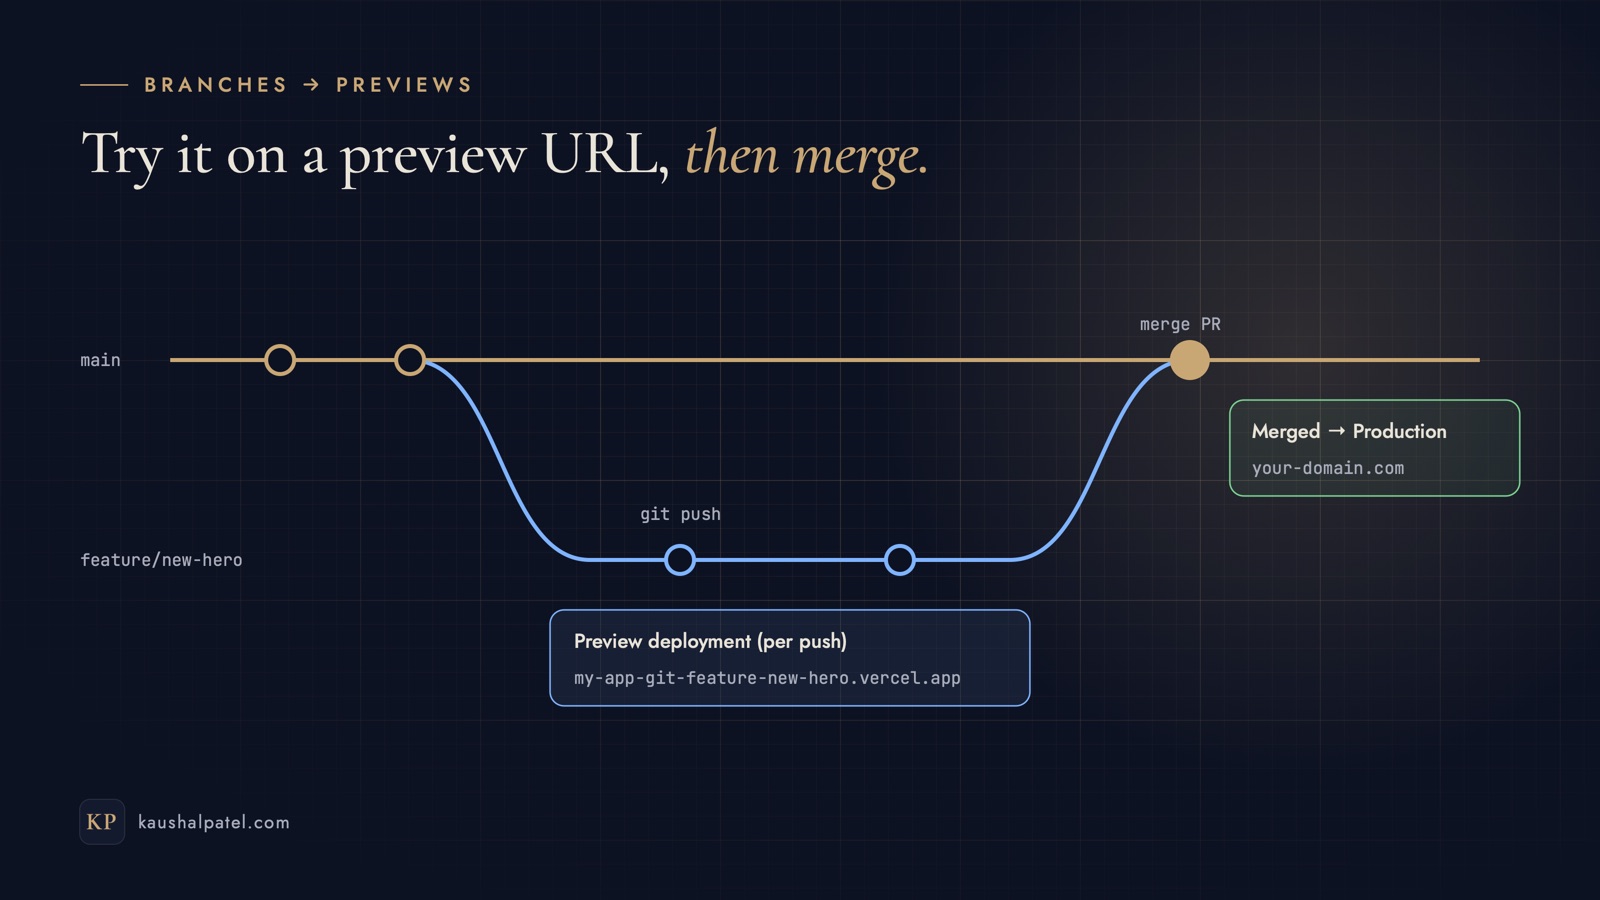
Vercel builds the branch and gives you a preview link. Open a pull request on GitHub (or run gh pr create --fill) and Vercel adds the preview link to it. When you’re happy, merge the pull request: main is your production branch, so the merge deploys to your live site automatically.
Each push to a branch gets a preview URL; merging into main deploys to production.
Afterwards, bring your local main up to date and tidy up the branch:
git switch main
git pull
git branch -d feature/new-hero
Step 7 — Connect your custom domain
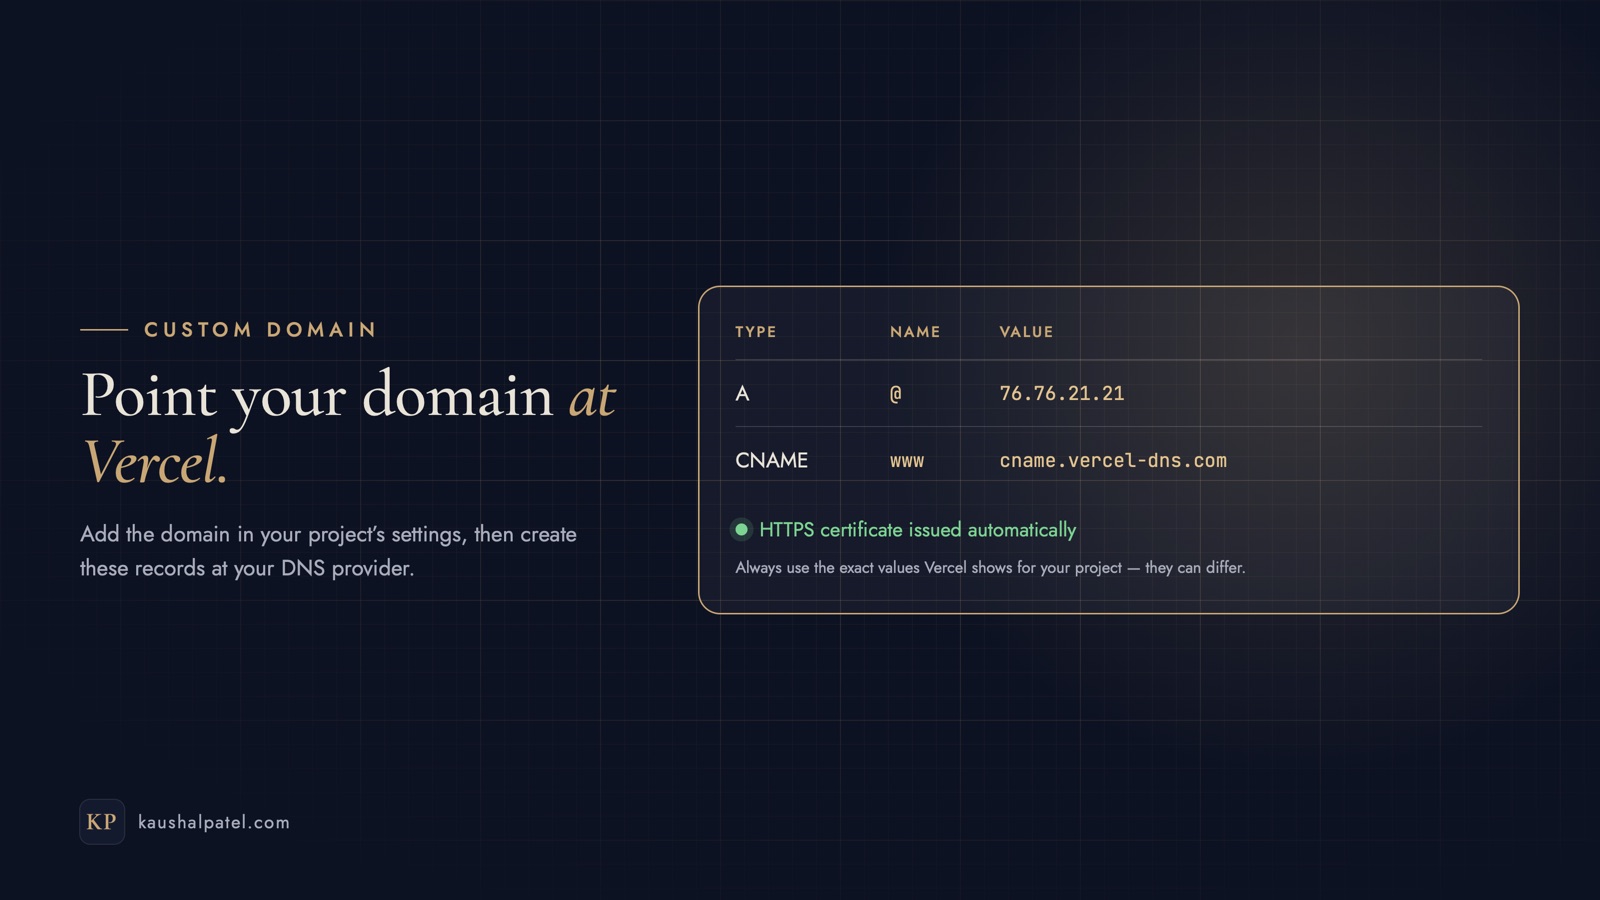
In your project, open Settings → Domains and add your domain, for example example.com. Vercel then shows the DNS records to create at your domain provider. For most setups they look like this:
Type
Name
Value
A
@
76.76.21.21
CNAME
www
cname.vercel-dns.com
Two DNS records connect your domain; Vercel issues the HTTPS certificate for you.
DNS changes can take anywhere from a few minutes to a few hours to spread. Vercel shows a green check when everything is set up.
HTTPS certificates are issued and renewed automatically.
Decide which address is the main one — example.com or www.example.com — and let Vercel redirect the other to it.
Using Cloudflare for DNS? Start with the records set to DNS only (the grey cloud) so Vercel can verify the domain and issue its certificate.
Optional — Deploy from your terminal with the Vercel CLI
The Git workflow above is all most projects need, but the CLI is handy for quick previews and pulling environment variables:
npm i -g vercel        # install the CLI
vercel login           # sign in
vercel link            # connect this folder to your Vercel project
vercel                 # deploy a preview
vercel --prod          # deploy to production
vercel env pull .env.local
Rolling back a bad deploy
Shipped something broken? In the Deployments tab, find the last good production deployment and use Instant Rollback — your site switches back in seconds, without rebuilding. Then fix the problem in Git. If you’d rather undo the change in code, revert the commit and push:
git revert HEAD
git push
Troubleshooting
The build fails on Vercel but works locally. Run npm run build locally and read the first error. A common cause: Vercel’s servers are case-sensitive, so import Header from "./header" fails if the file is called Header.tsx.
Wrong Node.js version. Set it under Settings → Build and Deployment, or add an engines field to package.json, for example "engines": { "node": ">=20.9.0" }.
An environment variable is undefined. Check it’s added for the right environment (Production, Preview or Development), redeploy, and remember browser code can only read variables starting with NEXT_PUBLIC_.
The domain shows “Invalid Configuration”. Compare your DNS records with the values Vercel shows, then give DNS a little time to update.
git push is rejected. GitHub has commits you don’t have locally (often a README added on GitHub). Run git pull --rebase origin main, then push again.
Your launch checklist
npm run build passes locally
Code is on GitHub and main is up to date
Project imported into Vercel and the first deployment is live
Environment variables added for Production and Preview
Custom domain connected, with HTTPS showing a padlock
Changes go through branches, previews and pull requests
That’s the full path from create-next-app to a live, custom-domain site that redeploys itself whenever you push. If you’d like to see what this setup can grow into, read how I rebuilt this website in Next.js — and if you get stuck deploying your own project, send me a message.
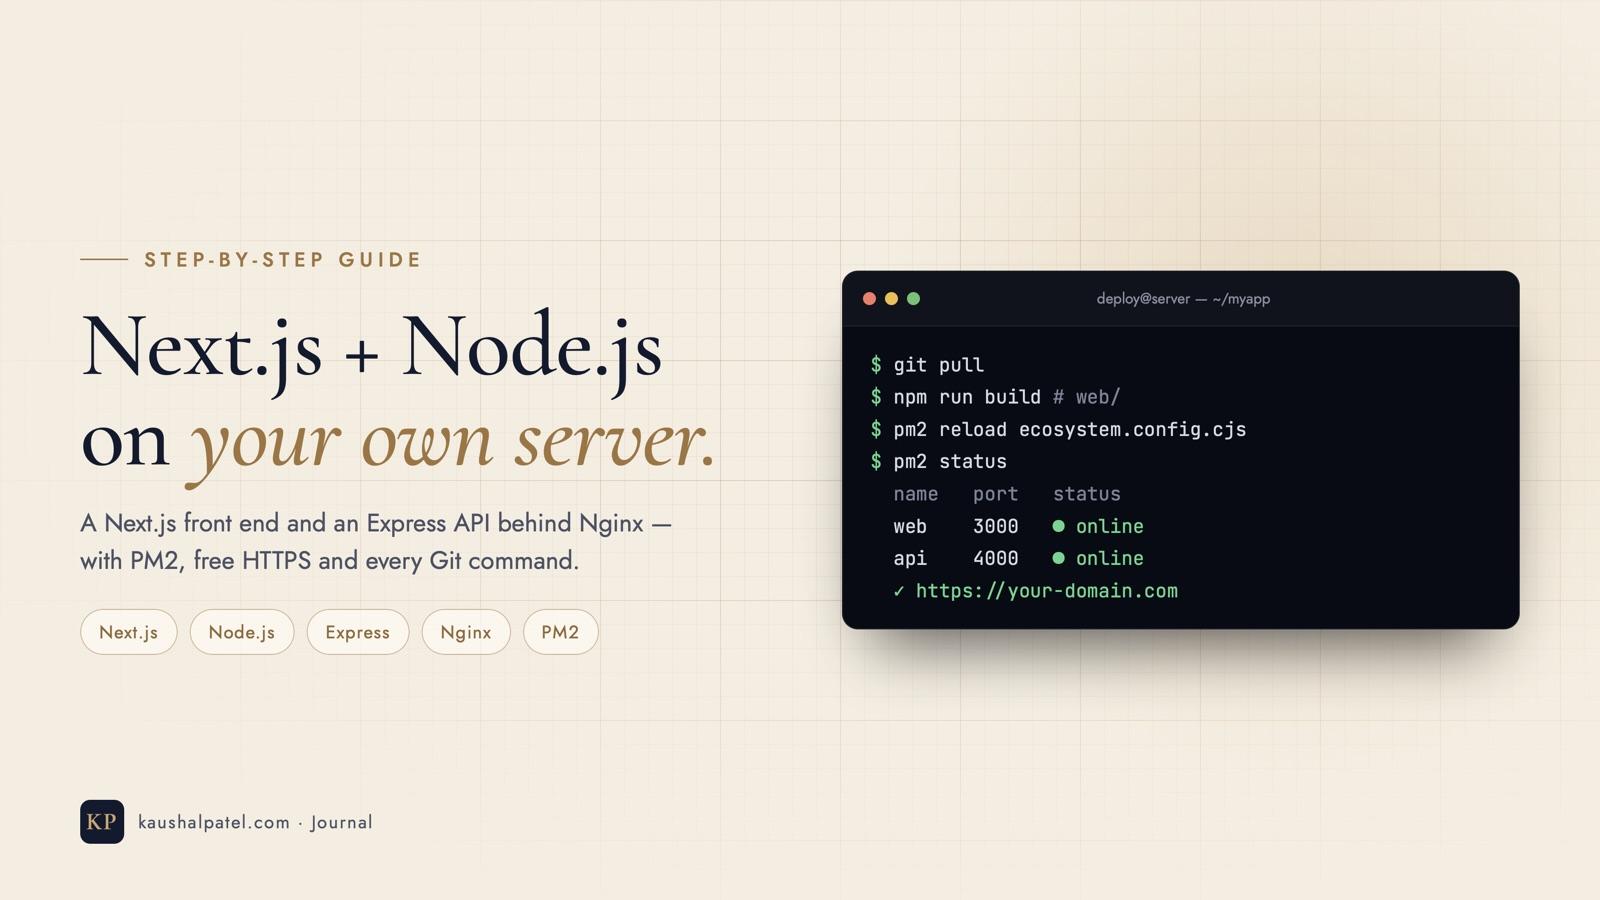
Run a Next.js front end and a Node.js Express API on one Ubuntu server: Git, deploy keys, PM2, Nginx routing, free HTTPS with Certbot and a one-command deploy script.
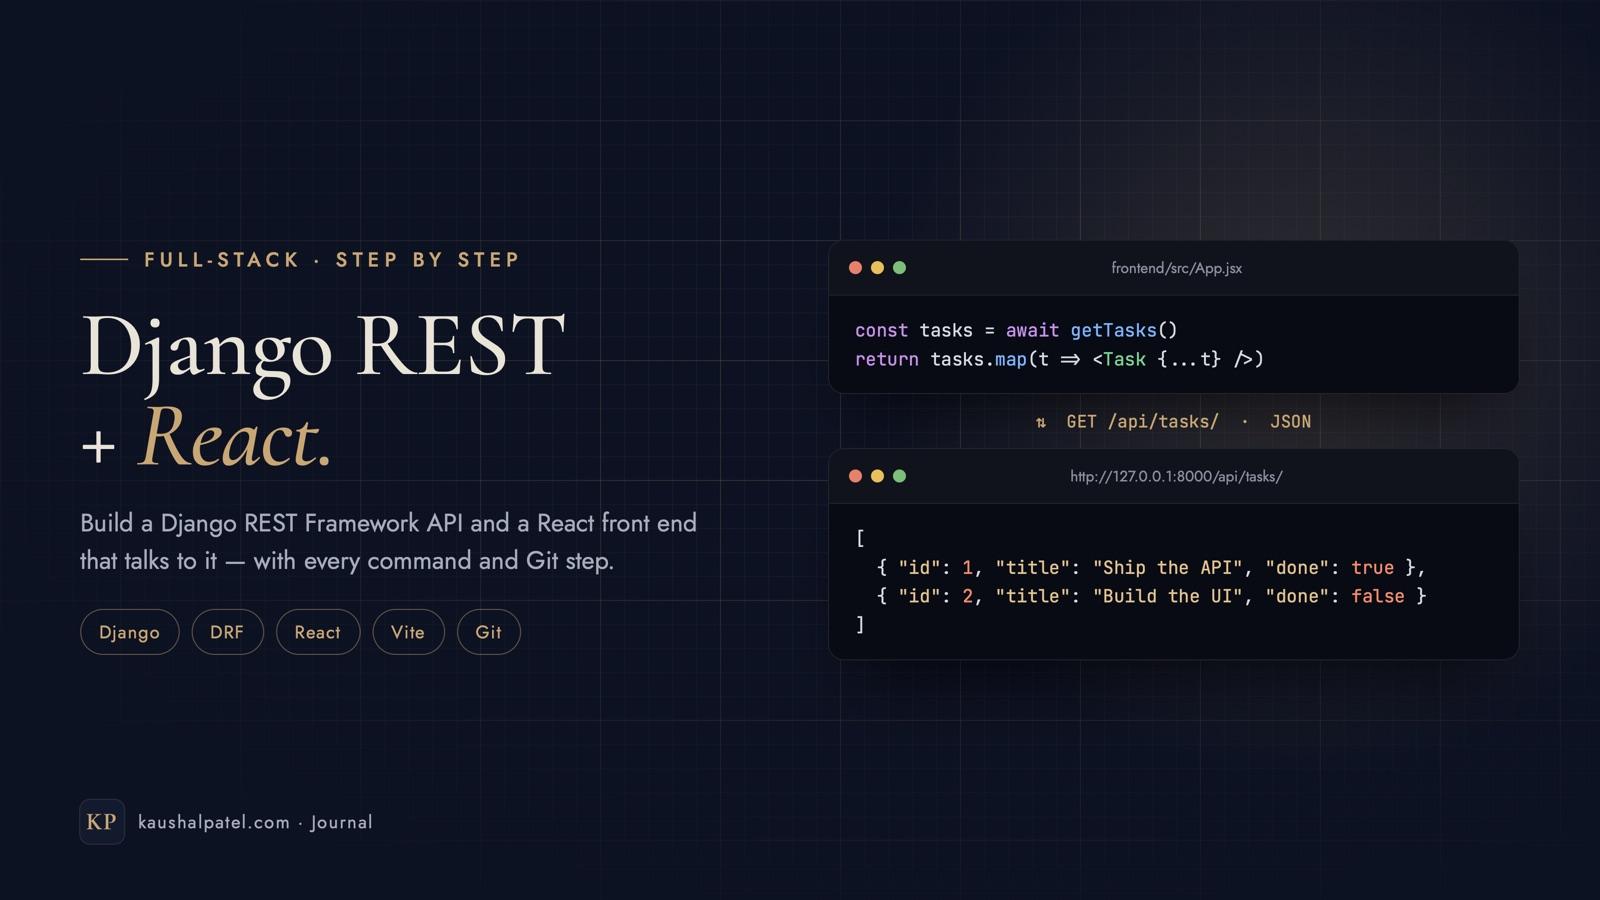
Build a Django REST Framework API and a React front end that uses it: models, serializers, ViewSets, CORS, Vite, fetch, Git and a path to production — every command included.
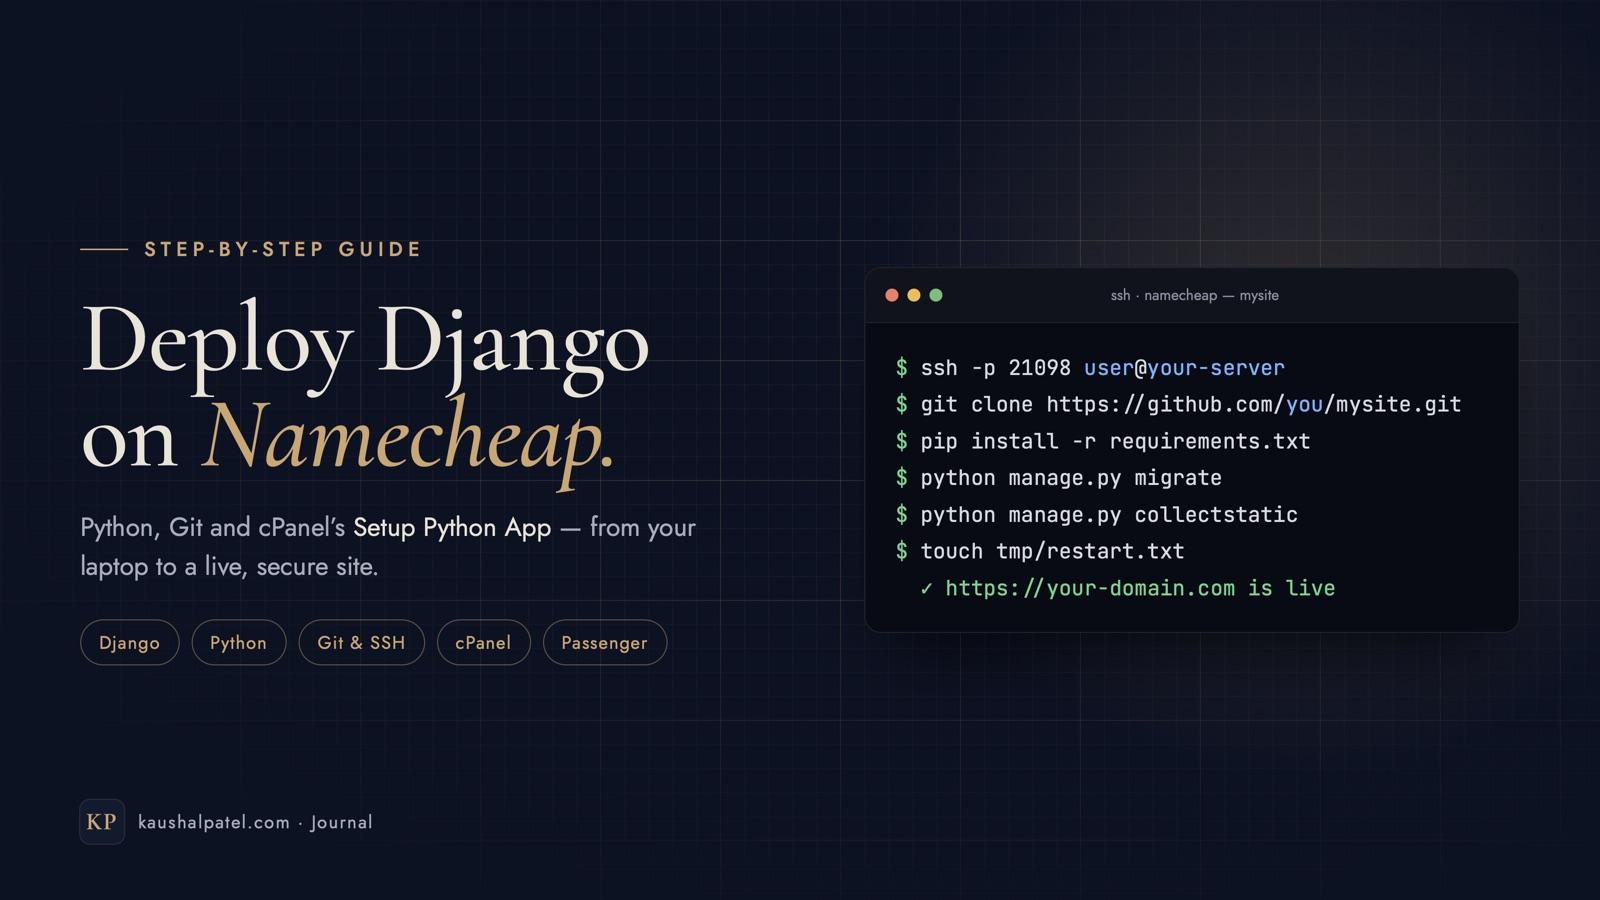
Run Django on Namecheap shared hosting with cPanel’s Setup Python App: production settings, Git and SSH deploys, MySQL, static files, HTTPS and a one-command update script.