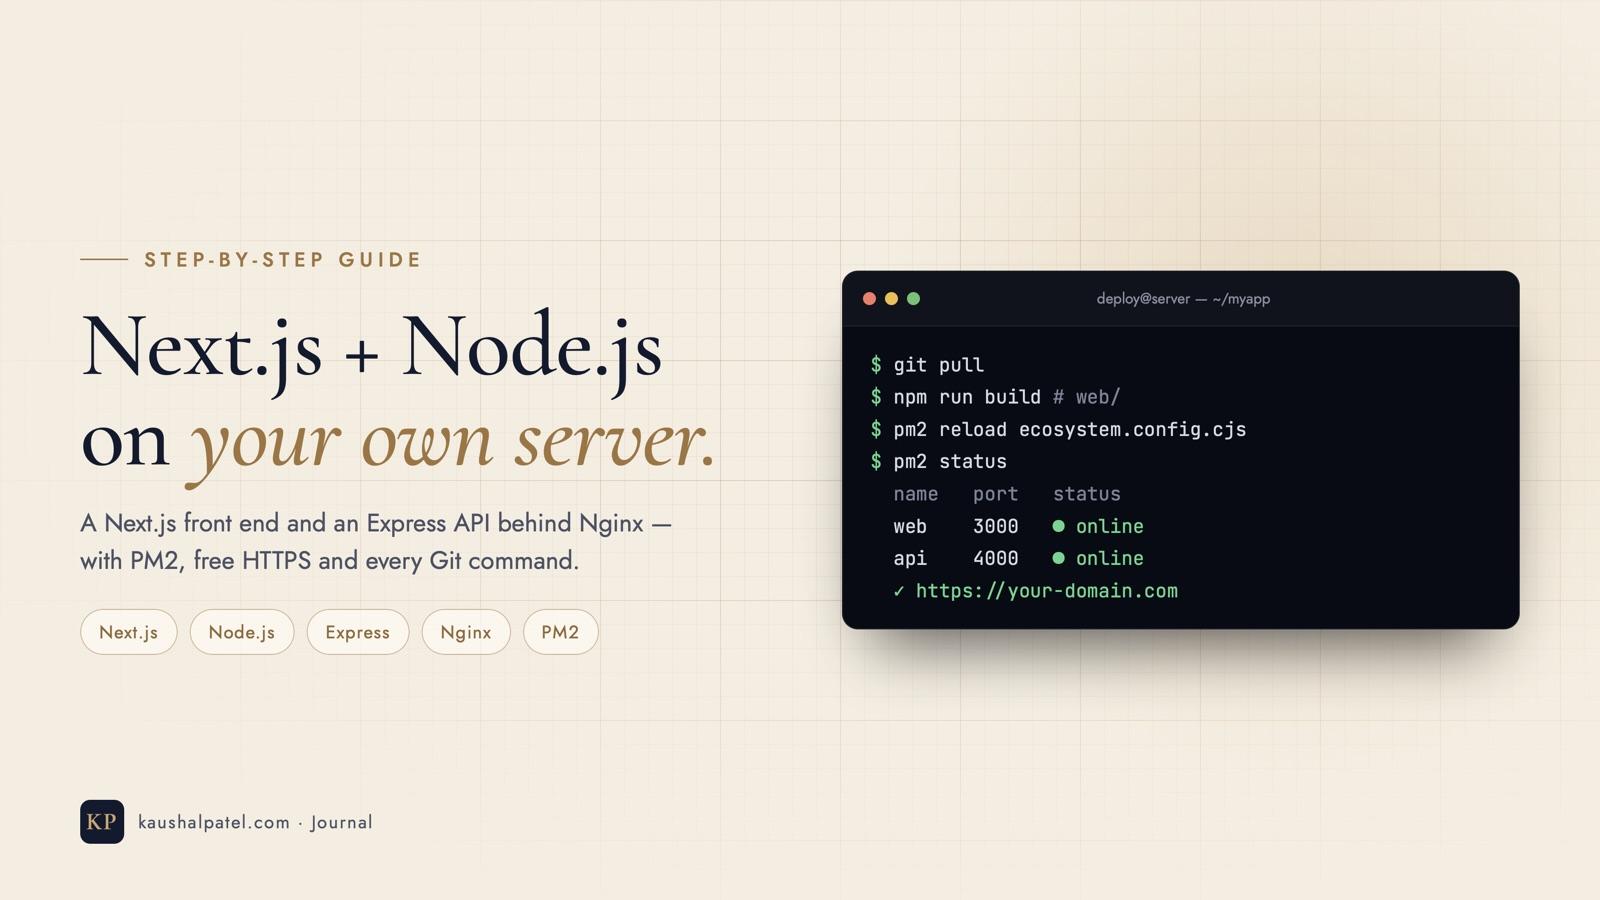
How to Deploy Next.js with a Node.js Back End on Your Own Server — Step by Step (with Git Commands)
By Kaushal Patel9 min read
Platforms like Vercel are wonderful for Next.js, but sometimes you want everything on one server you control: a Next.js front end and your own Node.js (Express) API, side by side, on a single domain. It’s cheaper at scale, keeps your data where you want it, and teaches you how the web really works.
In this guide we’ll build both apps in one Git repository, then put them on a Linux server (a VPS from any provider — DigitalOcean, Hostinger, Namecheap and others all work) with Nginx in front, PM2 keeping them running, free HTTPS, and a one-command deploy script.
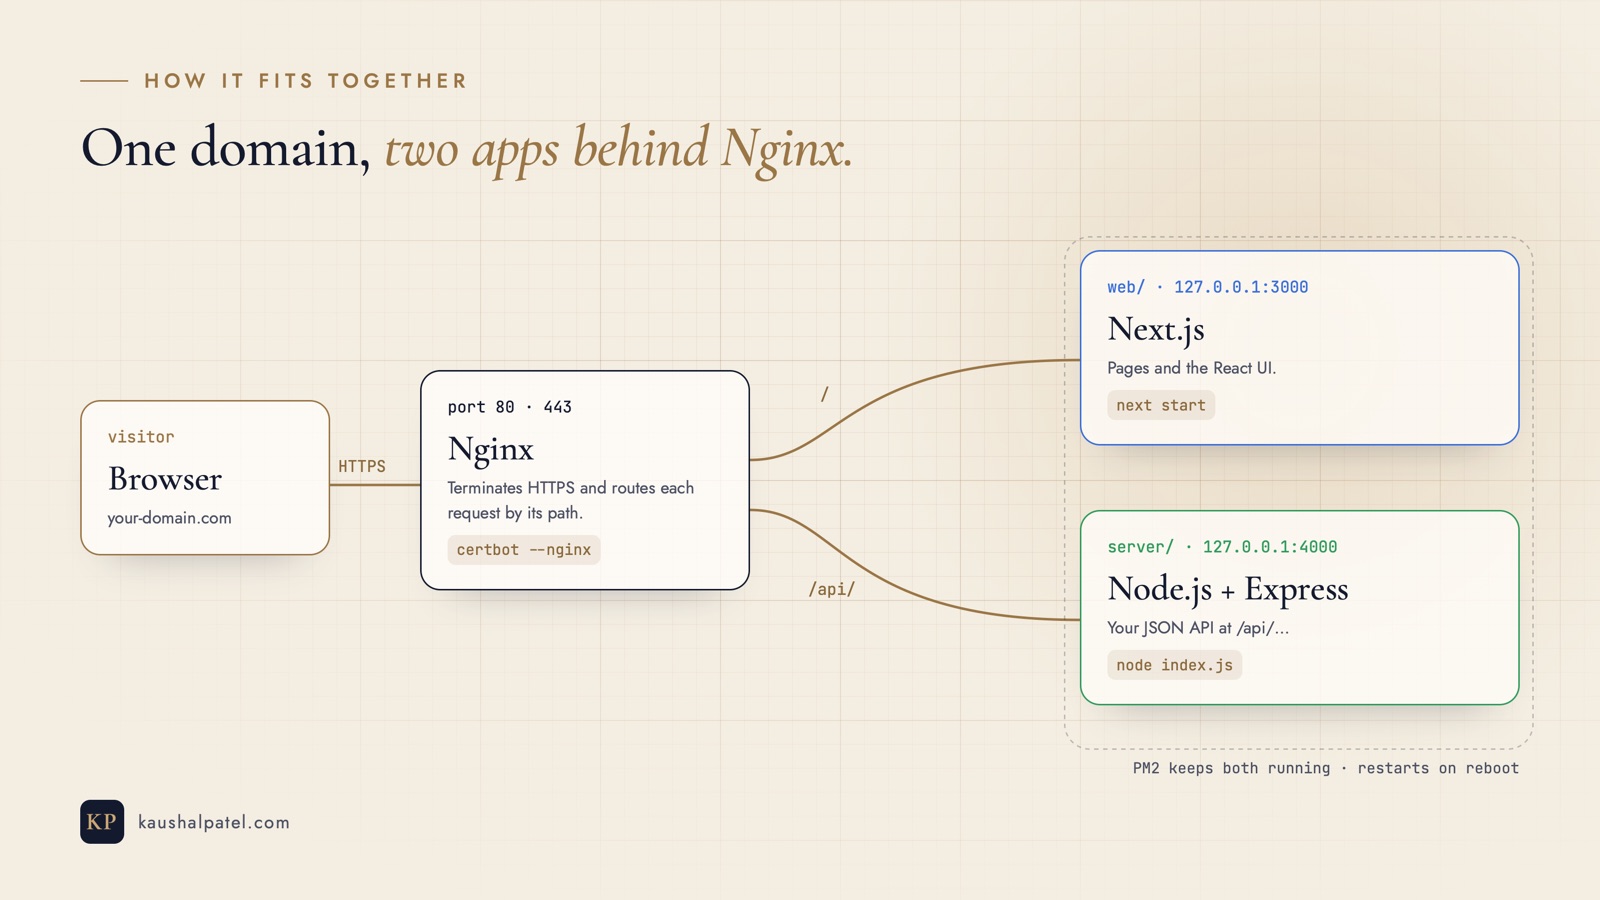
The setup: Nginx sends page requests to Next.js and /api/ requests to Express — one domain, no CORS.
What you’ll need
A Linux VPS running Ubuntu (22.04 or 24.04) with SSH access — 1 GB of RAM works, 2 GB is more comfortable for building Next.js.
A domain name whose DNS you can edit.
Node.js 20 or newer, Git and a GitHub account on your computer.
Step 1 — Create the repository
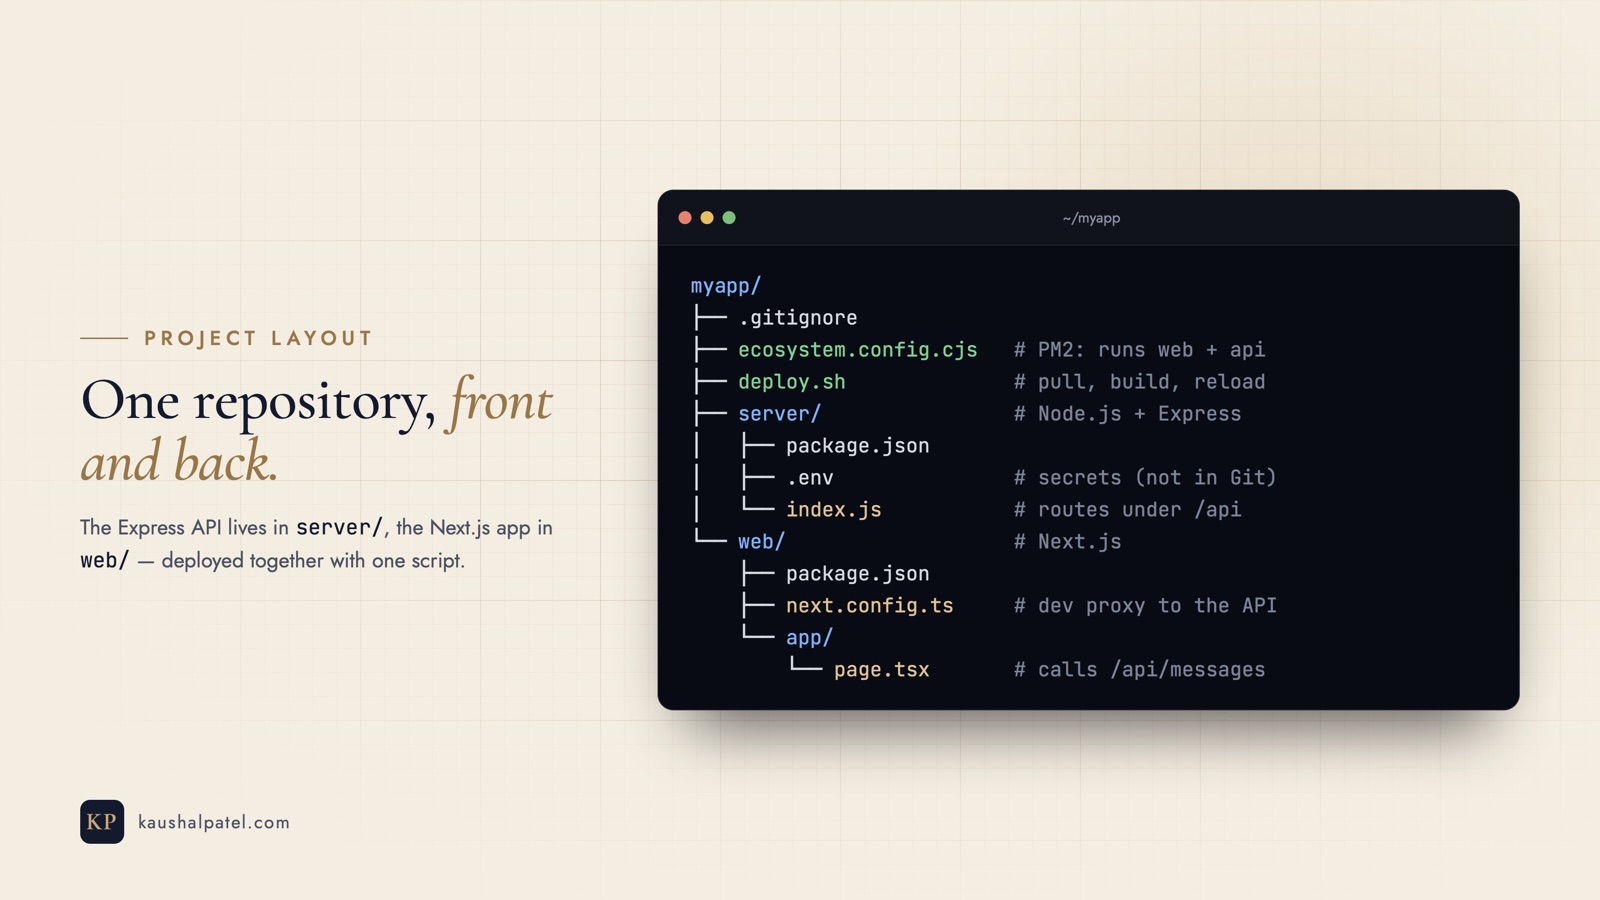
Both apps live in one repository: server/ for the API and web/ for Next.js.
mkdir myapp && cd myapp
git init
Add a .gitignore so dependencies, build output and secrets stay out of Git:
node_modules/
.next/
.env
.env*.local
Where we’re heading: one repository, the API in server/ and Next.js in web/.
Step 2 — Build the Node.js API with Express
mkdir server && cd server
npm init -y
npm pkg set type=module
npm install express
Create server/index.js — a small API with a health check and a list of messages:
Two details matter later: every route starts with /api, and the server listens on 127.0.0.1, so on the VPS only Nginx can reach it — not the whole internet.
Start it with npm run dev and open http://127.0.0.1:4000/api/messages — you’ll see the JSON. (The messages live in memory and reset on restart; swap in a real database when you’re ready.)
Step 3 — Create the Next.js front end
In a second terminal, from the myapp folder:
npx create-next-app@latest web --yes
cd web
During development, Next.js runs on port 3000 and the API on 4000. A rewrite lets the front end call /api/… as if the API were on the same address — exactly how it will work in production behind Nginx. Replace web/next.config.ts with:
import type { NextConfig } from "next";

const nextConfig: NextConfig = {
  async rewrites() {
    // In production Nginx sends /api/ to Express; this only helps in development.
    if (process.env.NODE_ENV !== "development") return [];
    return [{ source: "/api/:path*", destination: "http://127.0.0.1:4000/api/:path*" }];
  },
};

export default nextConfig;
Now a page that reads and posts messages. Replace web/app/page.tsx:
The last line copies your SSH key so you can log in as deploy. Reconnect as that user and install everything the apps need — Node.js (from NodeSource), Git, Nginx and PM2:
Add the printed key on GitHub under your repository’s Settings → Deploy keys (no write access). Tell SSH to use it — add to ~/.ssh/config:
Host github.com
  HostName github.com
  User git
  IdentityFile ~/.ssh/github_deploy
  IdentitiesOnly yes
Then clone, install and build:
git clone git@github.com:your-username/myapp.git ~/myapp

cd ~/myapp/server && npm ci --omit=dev
cd ~/myapp/web && npm ci && npm run build
Step 7 — Keep both apps running with PM2
PM2 starts your apps, restarts them if they crash, and brings them back after a reboot. Describe both apps in ecosystem.config.cjs at the root of the repository (create it on your laptop and commit it):
The -H 127.0.0.1 keeps Next.js private to the server, just like the API. On the server, start both and make PM2 survive reboots:
cd ~/myapp
pm2 start ecosystem.config.cjs
pm2 save
pm2 startup
pm2 startup prints one more command starting with sudo env PATH=… — copy and run it. Check everything is green with pm2 status.
Step 8 — Put Nginx in front
Nginx receives every request on ports 80 and 443 and forwards it: /api/ to Express, everything else to Next.js. Create /etc/nginx/sites-available/myapp (with sudo nano):
Choose to redirect HTTP to HTTPS when asked. Certificates renew automatically; check the renewal works with sudo certbot renew --dry-run.
Step 10 — Ship updates with one command
Create deploy.sh in the repository root, make it executable, and commit it:
#!/usr/bin/env bash
set -e

cd ~/myapp
git pull

(cd server && npm ci --omit=dev)
(cd web && npm ci && npm run build)

pm2 reload ecosystem.config.cjs
echo "Deployed ✓"
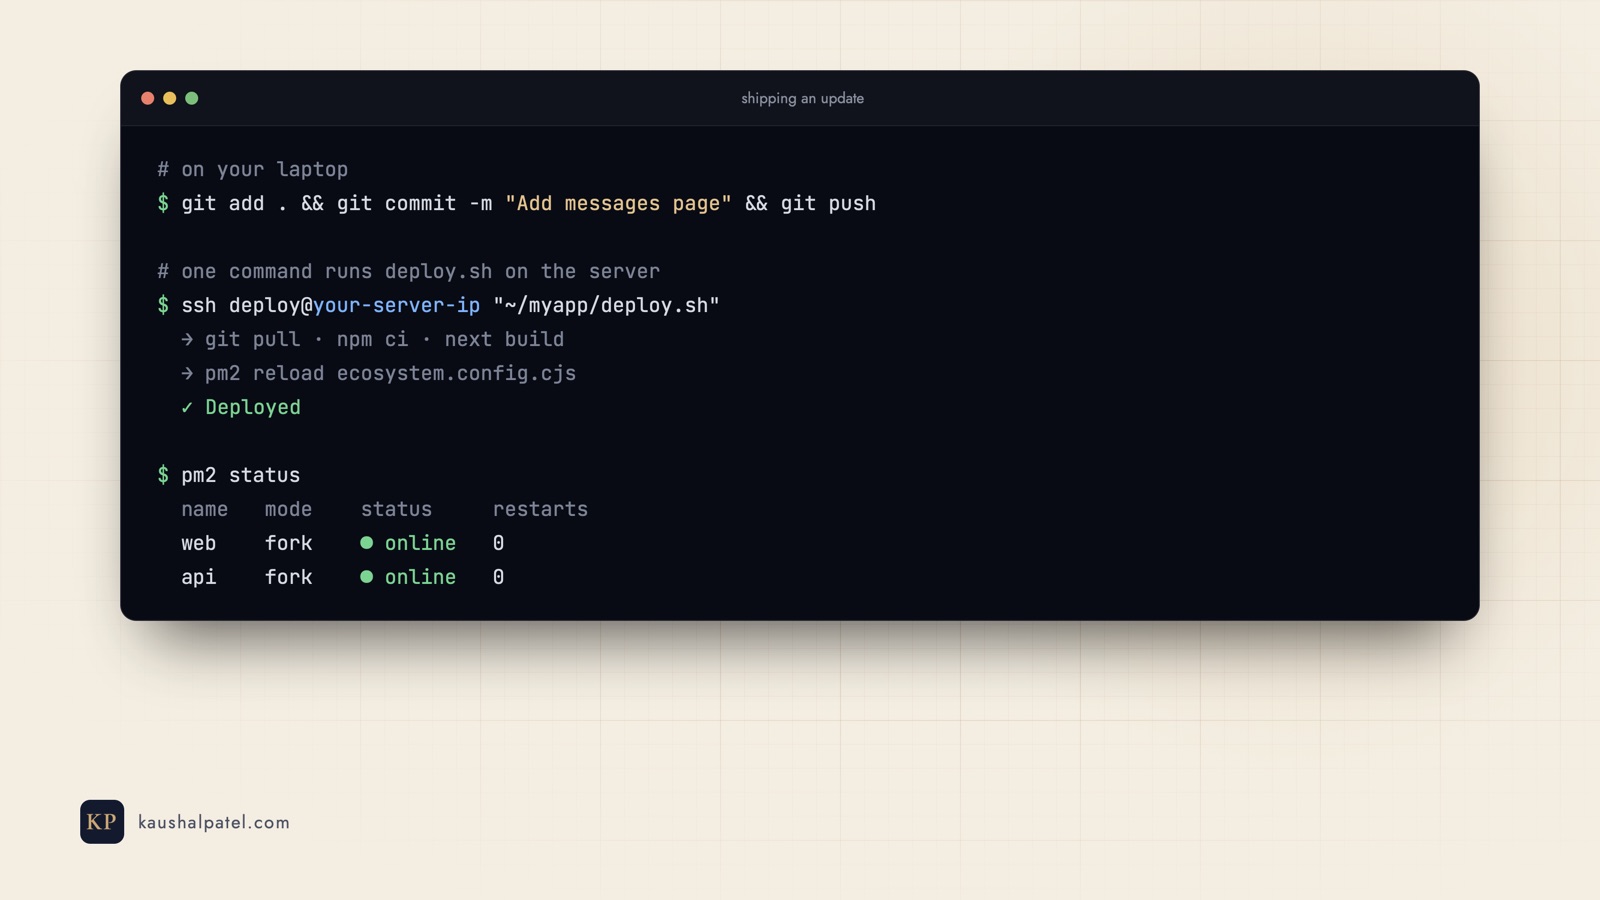
Every update: push, run the deploy script, and PM2 reloads both apps.
Watching your apps
pm2 status          # are both apps online?
pm2 logs api        # live logs from the API
pm2 logs web        # live logs from Next.js
pm2 monit           # CPU and memory, live
sudo tail -f /var/log/nginx/error.log
Troubleshooting
502 Bad Gateway. Nginx can’t reach an app. Run pm2 status and pm2 logs, and check the ports match: 3000 for web, 4000 for api.
The API returns 404 in production. The Nginx block is location /api/ and Express routes must start with /api — both have to agree.
next build is killed or runs out of memory. Add swap (Step 6) or build on a bigger plan.
Certbot fails. Your domain’s A record must already point to this server, and port 80 must be open (sudo ufw status).
Changes don’t show up. Next.js serves the last build — run deploy.sh (which rebuilds and reloads) instead of only git pull.
Permission denied (publickey) on git pull. Check the deploy key is added on GitHub and the remote uses the SSH address: git remote -v.
Your launch checklist
Both apps run locally, with Next.js calling /api/…
Code on GitHub; server clones it with a read-only deploy key
Firewall allows only SSH and Nginx
PM2 runs web and api, and starts them on reboot
Nginx routes /api/ to Express and everything else to Next.js
HTTPS certificate installed and renewing automatically
deploy.sh ready for the next release
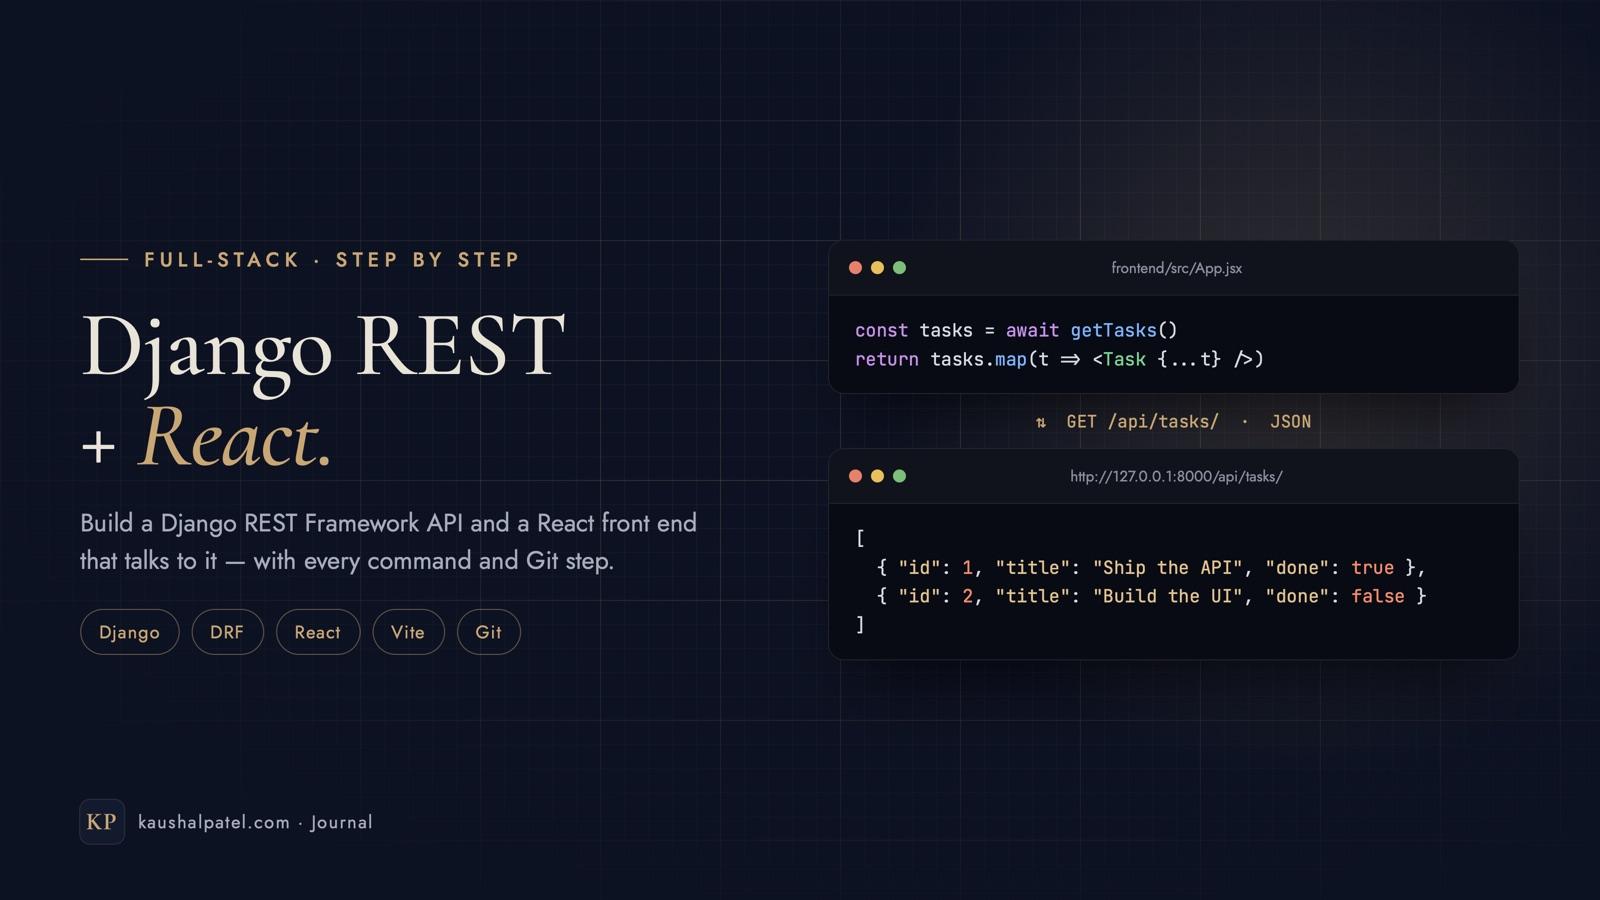
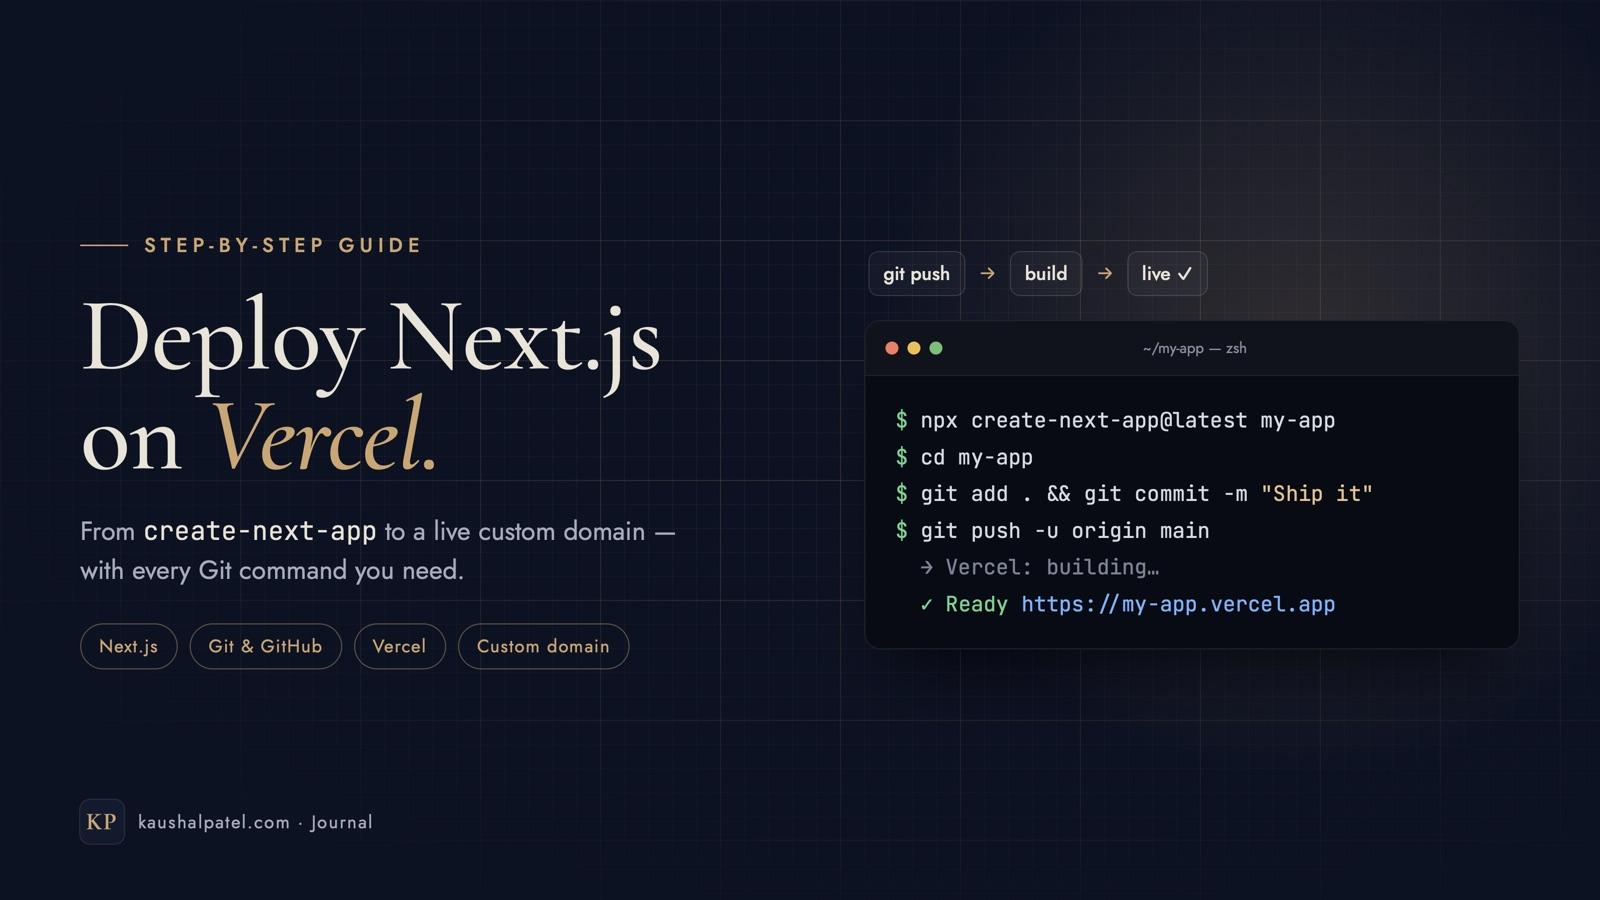
You now run your own small platform: Next.js for pages, Node.js for your API, Nginx at the door and PM2 keeping watch. Prefer someone else to manage the servers? Compare this with deploying Next.js on Vercel — or, for a Python back end, see Django REST Framework with React. Questions? Send me a message.
Build a Django REST Framework API and a React front end that uses it: models, serializers, ViewSets, CORS, Vite, fetch, Git and a path to production — every command included.
From create-next-app to a live custom domain: push your Next.js project to GitHub, deploy it on Vercel, add environment variables, preview branches and roll back safely.
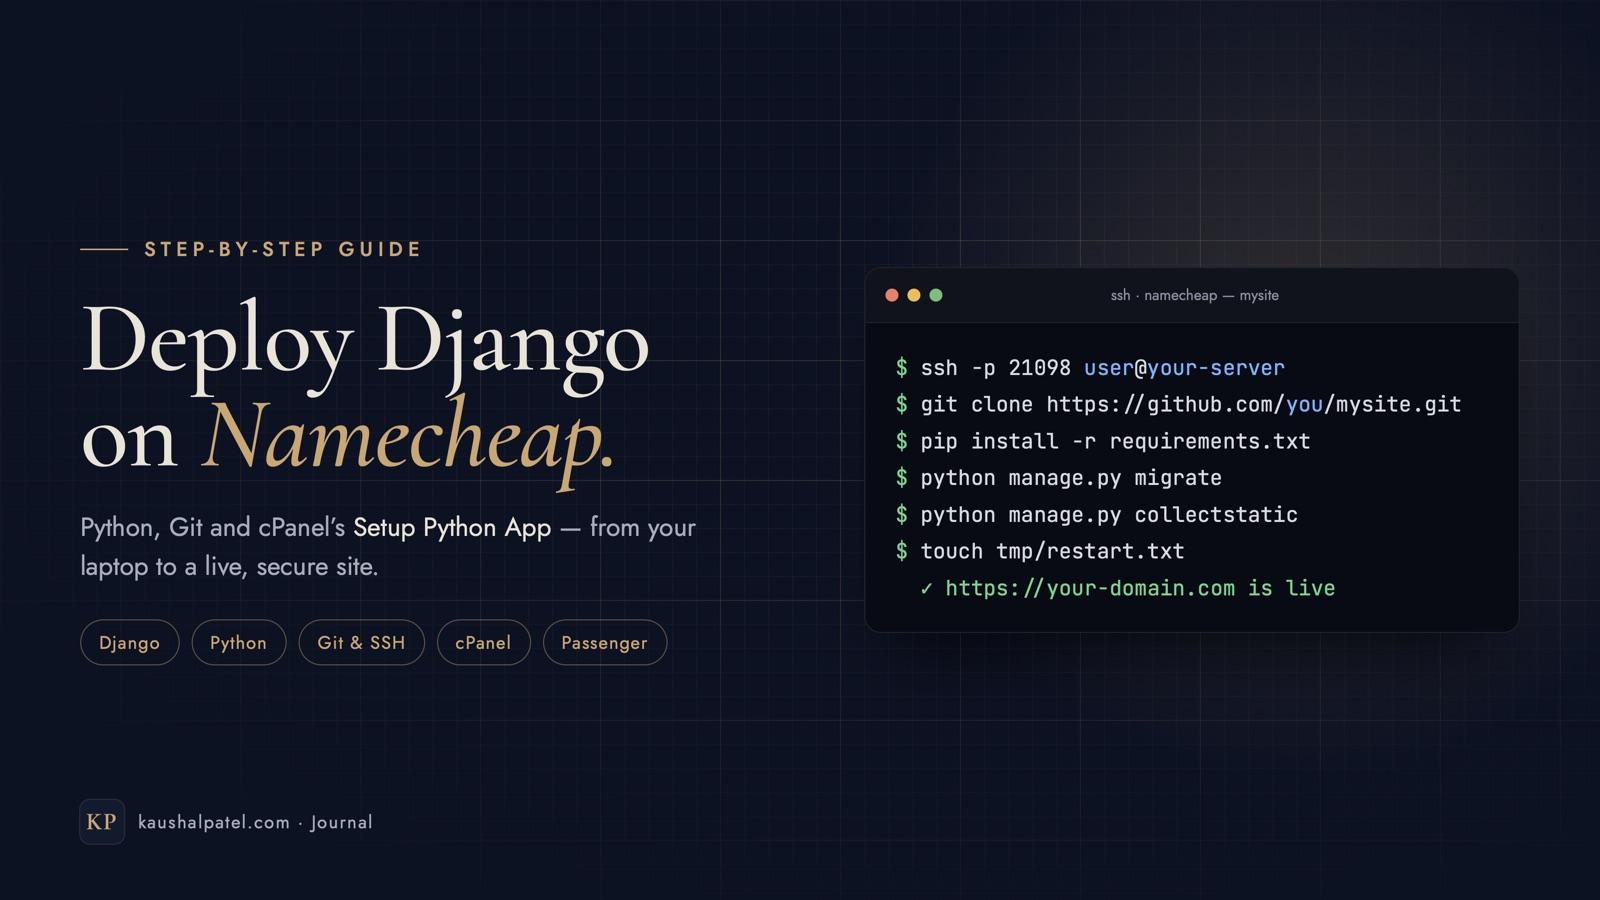
Run Django on Namecheap shared hosting with cPanel’s Setup Python App: production settings, Git and SSH deploys, MySQL, static files, HTTPS and a one-command update script.